Lens reviews & comparisons
Why Enlarging Contacts Look Different in Selfies and Mirrors

Enlarging colored contacts can look different in a selfie, a mirror and someone else's portrait because each view changes the context around the iris. Close camera distance changes facial perspective; camera settings and processing alter contrast; lighting changes the pupil and visible print; and a mirror reverses the face you know best. Compare several controlled views before deciding whether a lens looks too large or just photographs differently.
In this guide

Why the same lens can look different in each view
A mirror, a close front-camera selfie and a portrait taken from farther away do not present the same geometry or visual context. In a mirror you may see the face at an ordinary standing distance and in familiar reversal. In a selfie the phone is often close, the eye may fill much more of the frame, and the camera may process sharpness or contrast. In a portrait the full face gives the iris a different apparent proportion.
None of these views is automatically the “true” one. They answer different style questions. A close crop helps reveal a lens's radial strokes and outer ring. A portrait helps you judge whether the colored area dominates the face. A normal-distance mirror shows a familiar, moving view in your current light. For a purchasing decision, combine them rather than demanding that one picture settle everything.
If you change lenses and compare two photos, keep the setup consistent. Otherwise, a close selfie of one lens and a distant portrait of another mostly compare cameras and framing. Record the exact lens, shade and date alongside the images so that an attractive picture does not become detached from the product it shows.
Camera distance changes facial perspective
Holding a phone very close makes near facial features occupy more of the image relative to farther features. Adobe Research explains that close selfie perspective can distort facial proportions; portrait photographers often step farther back to avoid that effect. This does not physically change the lens or the iris. It changes the photograph's proportions and can make an enlarging pattern feel more emphatic within the frame.
A simple experiment is to take one front-camera photo at arm's length and another from farther away with a timer, then crop the farther photo to a similar face size. Keep light, head angle and expression as consistent as you can. The result will not be a laboratory measurement, but it can show how much the close camera changes your impression of the eyes.
“Use a longer focal length” is often shorthand for a more distant portrait setup. The key for perspective is the camera-to-face distance; changing a zoom setting while remaining in exactly the same position does not recreate the perspective of stepping back. On a phone, changing camera modes may also change processing. Keep the same device, setting and distance when comparing two lens options.
Do not measure your iris in pixels from a close selfie and translate that into graphic diameter. The image scale depends on distance, crop and processing, and the natural iris boundary may be hard to identify under a printed pattern. Use the listed graphic diameter of the exact lens as catalog context and images as visual examples.
Camera settings and processing affect the edge
Front, rear, wide and portrait camera modes may render the face differently. Some devices correct lens geometry or apply computational processing. Apple's camera settings guide notes that supported iPhones can use lens correction for front and ultra-wide cameras. Settings differ by device, so check your own camera rather than assuming every selfie is processed in the same way.
Beauty filters can change eye size, skin smoothing, face shape, iris saturation or contrast. Even a subtle filter may make a limbal ring look sharper. For a fair comparison, turn off filters and editing, avoid screenshots of compressed social posts when possible, and use the original camera image. If a seller or reviewer does not disclose processing, treat the result as inspiration rather than a measurement.
Portrait mode may blur background and change the visual emphasis around the face. Different sharpening or HDR settings can strengthen a dark printed edge. A thumbnail on a phone screen may also increase the impression of contrast compared with a large image. View photographs at a similar size and crop before concluding that one lens has a darker ring.
When sharing images for a style comparison, label the camera and mode if you know them. “Rear camera, no filter, window light, face portrait” is more useful than “looks natural.” It lets you return to the same setup when evaluating another lens.
Lighting changes what part of the print you see
Bright and dim light change the pupil's size. That changes how much of the natural iris and printed pattern is visible around the pupil. It can also change the contrast between the colored lens and the natural iris. A center gradient that looks detailed in bright window light may seem less distinct in a dim restaurant photograph.
Light direction matters as well. Direct flash can create strong catchlights and make a printed ring appear crisp. Side light can reveal texture on one side of the eye and shade the other. Warm indoor light may shift a gray or olive lens toward a different color than neutral daylight. Record the light before treating two pictures as evidence that the product changed.
Do not use unusually bright light solely to force a pupil size for photographs. Use comfortable, ordinary conditions, and avoid anything that causes eye discomfort. A practical comparison can include one neutral indoor portrait and one daylight portrait, both with the same camera position and no filter.
A photograph also freezes a moment. In conversation, your gaze shifts, eyelids move and the light changes. The moving result in a mirror or short unedited video may be more useful for judging whether a ring feels natural to you than a single perfectly lit still.
Why a mirror can feel more familiar than a photo
A mirror reverses left and right. Many camera previews show a mirror-like view, while the saved photo may be flipped or not, depending on the device setting. Apple explains its Mirror Front Camera option for users who want the saved selfie to match the preview. Similar settings may exist on other devices.
Your face in a non-mirrored photograph may look unfamiliar even when the lens design has not changed. Facial features are rarely perfectly symmetrical, and reversal changes their arrangement. Avoid blaming the colored lens for every difference between a mirror and a photo. Compare the eye area and the whole face deliberately, rather than relying on an immediate “something looks off” reaction.
If you are comparing the right and left eye, keep track of which side the image shows after reversal. This is especially useful when the two eyes have different prescription powers or when one eye's natural iris color differs. A mirrored selfie can make a left-eye observation appear on the right side of the saved image.
A simple comparison method you can repeat
- Confirm the lens. Note exact brand, series, shade and replacement format. Use only your prescribed and professionally fitted lens for a wear comparison.
- Pick ordinary light. Choose steady indoor light or soft daylight. Avoid strong filters and flash for the baseline.
- Make a portrait. Place the camera far enough away to show the full face. Use a timer or another person, and record the camera mode.
- Make a close-up. Use it only to inspect print, edge and visible blending. Do not use it as the main judgement of whole-face proportion.
- Check the mirror. View the lens at a normal distance and while moving naturally. Note the reversal if comparing sides.
- Repeat consistently. If comparing two lenses, use the same light, camera, distance, head angle and expression as far as practical.
Write two observations, not one vague verdict: “outer ring visible at portrait distance” and “colored area looks wider than my natural iris.” These identify definition and enlargement separately. A lens may score differently on each. This method cannot quantify the graphic diameter or establish fit, but it can make your style choice more considered.
If your conclusion changes dramatically across views, state what changed. For instance, “the ring looked strong only in a close front-camera selfie; it looked softer in the unfiltered portrait.” That is a useful result. It is more honest than trying to decide which image is the universal truth.
How to read catalog and customer photographs
Before comparing a product image with your own mirror view, verify that the photo belongs to the exact shade and version. A category banner might show another lens in the family. A customer review may omit the daily or monthly variant. The current product page is the place to confirm replacement format, package contents and available prescription values.
Use model images for possible appearance, not a guarantee. Natural iris color, eye shape, camera settings, lighting and processing vary. A shade can blend softly on one eye and stand out on another. The same G.Dia can look different when a print uses a strong outer border rather than a translucent gradient.
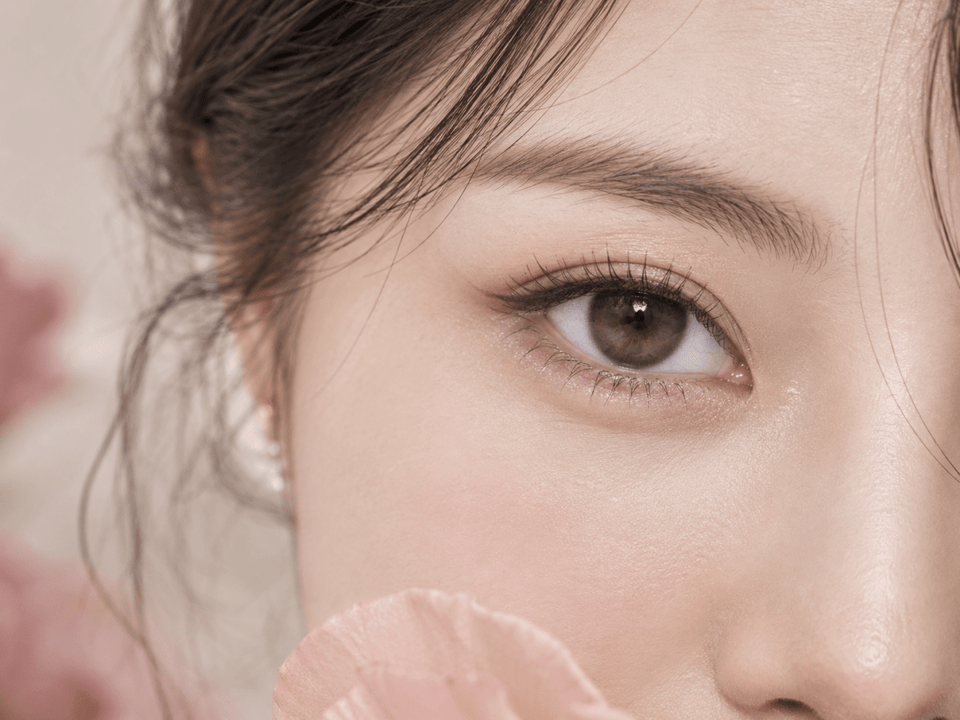
If you want to understand apparent size, seek full-face views at a consistent scale. If you want to understand pattern detail, seek close views. A macro image that fills the screen with an eye is not a realistic test of how prominent the lens appears in conversation.
When the listing lacks an exact-product portrait, leave the size impression uncertain. Ask for more detail or compare a different candidate with clearer evidence. Do not infer product specifications from a generic model image or a phone filter.
Three common selfie-versus-mirror situations
The selfie makes the lens look too large
Check whether the camera was held close, whether a wide front camera or beauty filter was active, and whether the photo was cropped tightly around the eyes. Repeat at a greater distance in neutral light. If the outer print still dominates a full-face portrait, the lens may be stronger than your style brief. If the effect fades, the close image was a poor basis for judging daily appearance.
The mirror looks subtle but the portrait looks bold
Check the lighting and processing first. A darker ring can be strengthened by contrast or sharpening. Also compare the face at the same displayed size. A tiny mirror reflection across a room and a large portrait on a monitor do not provide equivalent visual scale. Keep both observations; they represent different viewing situations.
Two product photos seem to contradict each other
Verify exact shade and lens version, then compare natural iris color, light, camera distance and editing. If those details are unavailable, neither photo proves a general result. Use current specifications for catalog facts, identified images for possible appearances and professional guidance for individual suitability.
Appearance does not establish fit or safe wear
A mirror or image cannot show whether a contact lens is appropriately fitted. Follow your current contact lens prescription for the exact model, including any values required for each eye. In the United States, FDA buying guidance explains that decorative contact lenses require a prescription. Local requirements elsewhere can differ; follow the rules and professional advice that apply to you.
Check the live listing for the exact shade, replacement schedule, pieces per box and available selections. Do not swap to a different brand, power, base curve or toric value to get a preferred camera effect. If the lens you like is not available in your prescribed configuration, ask your eye-care professional about an alternative.
Follow the product's wearing and care instructions. The CDC's prevention guidance covers clean handling, avoiding water and using backup glasses. If you develop pain, persistent redness, light sensitivity, discharge or blurred vision, remove the lens and seek professional advice promptly. A flattering photograph is never a reason to keep wearing an uncomfortable lens.
Explore the 13.0–13.4 mm Graphic Diameter and 13.5–13.9 mm Graphic Diameter categories for candidates. Return to the exact product page and your current prescription before ordering.
KPOP2 Editorial Team · Reviewed September 27, 2026. Photography guidance uses Adobe Research on close selfie perspective and Apple camera mirror guidance. Lens prescription and care information follows the linked FDA and CDC guidance. Images are visual examples, not fit tests or guaranteed results.